
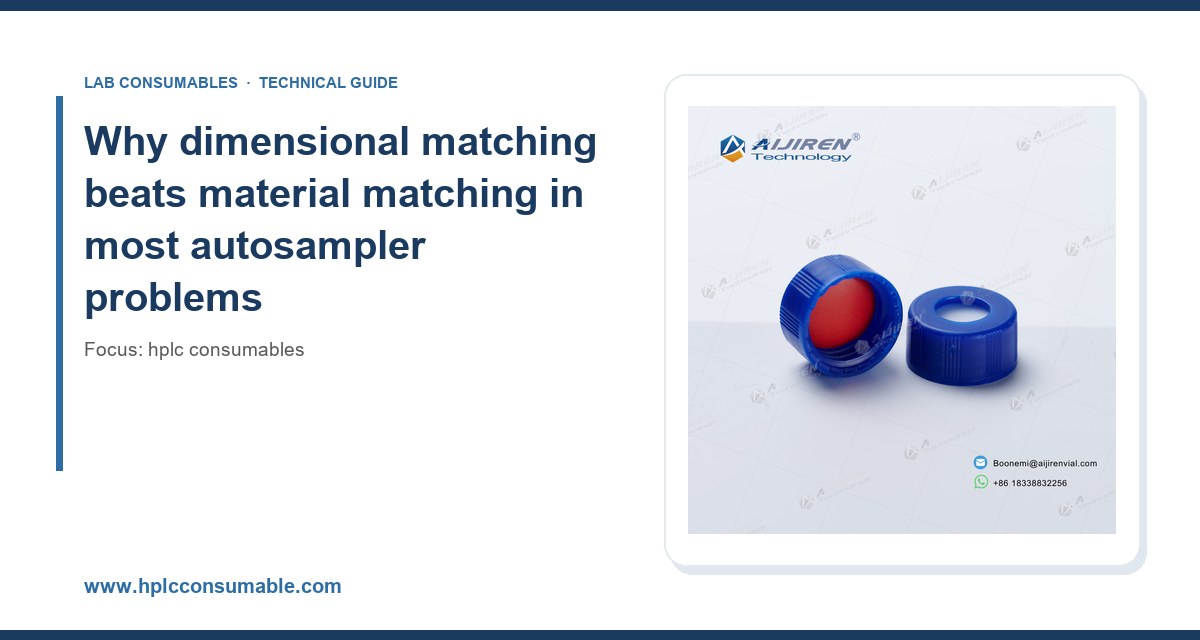
I once watched a lab burn through three cases of 9 mm wide-mouth screw caps in a month because the autosampler needle was landing 0.4 mm off the vial center and clipping the septa. The caps were fine. The vials were fine. The problem was that nobody had checked the vial height against the autosampler’s gripper spec, and the tray sat 0.6 mm high after a service visit. That is the whole game with autosampler and inlet consumables: the chemistry is usually right, and the dimensions are wrong. This guide is about the dimensional matching work that nobody puts in the SOP.
Ask a chemist why an injection failed and you will hear about septum bleed, needle blockage, or a bad lot of solvent. Ask a service engineer and you will hear about geometry. Needle penetration depth, vial outside diameter, cap skirt thickness, septum durometer, and the vertical distance from the tray floor to the needle guide all have to line up within a few tenths of a millimeter. Get those right and 90% of your “consumable problems” disappear. Get them wrong and you can buy the most expensive PTFE-lined silicone on the market and still bend needles.
The dimensional stack is longer than most people realize. From the bottom up you have the tray, the vial, the septum, the cap, the needle guide, and the injection port. Every one of those has a tolerance. Add them and you get the worst-case needle entry point. If that number exceeds the needle’s safe travel, you get coring, bending, or a partial injection. This is why I tell procurement teams to treat vial and cap selection as a mechanical engineering problem first and a chemical compatibility problem second. The HPLC consumables you buy are a system, not a list.
The four dimensions that actually matter
In my experience, four dimensions drive 95% of autosampler fit problems:
- Vial outside diameter (OD): 12 mm, 12.5 mm, or 11.6 mm depending on standard. A 12.5 mm vial in a 12 mm gripper will jam or drop.
- Vial height (crimp vs screw): 32 mm is standard for 2 mL; short-form 32 mm screw vials exist but a 32 mm crimp vial in a screw-top tray sits too high.
- Septum thickness and durometer: 1.0 mm silicone/PTFE is typical; 3.0 mm thick septa on the same cap will push the needle entry point up by 2 mm and can prevent full needle travel.
- Cap skirt and septa retention: a screw cap with a 0.5 mm thicker skirt will not seat flush and the vial will sit high in the tray.
If your method is validated on one vial format and someone swaps to a “compatible” alternative without checking these, you are gambling on every injection.
Autosampler formats: what each one actually demands
Different autosamplers have different mechanical personalities. I have run most of them and the fit rules are not interchangeable.
Agilent 1260/1290 and the 7697A headspace sampler
Agilent’s 1260 and 1290 autosamplers use a gripper that is very sensitive to vial OD and to cap skirt thickness. Standard 2 mL vials are 12 x 32 mm with a 6 mm neck opening for crimp or 9 mm for screw thread. If you are running the 7697A headspace sampler, the vial and cap must be rated for the headspace oven temperature (typically 40 to 150 °C, up to 200 °C for some methods), and the septum must hold pressure without venting. A standard silicone/PTFE septum at 1.0 mm is fine to 100 °C; above that, use a higher-temperature septum or a molded PTFE/silicone. Agilent publishes the vial and cap geometry in its consumables catalog; check the Agilent chromatography consumables and columns pages for the exact part numbers before you substitute.
Thermo Scientific and the TriPlus/Vanquish family
Thermo autosamplers are generally more forgiving on vial OD but less forgiving on septum softness. The TriPlus RSH uses a needle guide that will coring a soft septum if you run more than about 100 injections per septum at high speed. I have seen septa fail at 60 punctures under fast cycle times because the needle was warm and the septum was soft. Thermo’s own documentation recommends a 1.0 mm silicone/PTFE septum for standard LC and a 1.5 mm for high-pressure or high-temperature work. The Thermo Fisher chromatography and sample handling pages list the recommended vial and cap pairings by instrument model; use them as a baseline, then verify against your own tray.
Waters Alliance and the 96-well plate formats
Waters Alliance and Acquity systems are the ones that will punish you for buying a 12.5 mm vial when the tray is built for 12 mm. The gripper jaws are tighter than Agilent’s and the tray wells are deeper. If you are using 96-well plates, the plate footprint is standard at 127.8 x 85.5 mm, but the well depth and the seal thickness vary between suppliers. A 0.2 mm thicker seal will lift the plate and the needle will not reach the bottom of the well. I have seen this fail silently: the injection runs but the sample volume is short by 10 to 15%.
GC inlets: liners, septa, and the inlet nut torque
GC inlets add a second layer of dimensional matching. The inlet liner has an OD of 4 mm or 6 mm depending on the inlet (split/splitless vs. PTV), and the length is 78.5 mm for a standard split/splitless liner. If you use a 4 mm liner in a 6 mm inlet body, you get leaks and bad peak shapes. The inlet septum is 11 mm for most Agilent and Thermo inlets, and the retaining nut should be tightened to about 20 to 25 in-lb (roughly 2.3 to 2.8 N·m). Over-torque and you crush the septum; under-torque and you get a leak that shows up as a wandering baseline. I keep a torque wrench on the bench for exactly this reason.
The septum itself has a puncture budget. A standard 11 mm silicone/PTFE septum is good for about 100 to 150 injections in split mode; in splitless mode with a hot inlet, plan on 50 to 80. After that you get coring, ghost peaks, and a baseline that drifts. If you are running EPA methods, the U.S. EPA SW-846 test methods for waste and materials specify the QC criteria that will flag a failing septum, but they do not tell you the puncture count. That is on you.
The vial and cap decision matrix
Here is the checklist I use when a lab asks me to standardize. It is not exhaustive, but it catches the failures I have seen most often.
| Parameter | Standard 2 mL LC vial | High-recovery / low-volume | Headspace / GC |
|---|---|---|---|
| Vial OD | 12 mm | 12 mm | 12 mm (or 22.5 mm for 20 mL) |
| Vial height | 32 mm | 32 mm | 32 mm (or 75 mm for 20 mL) |
| Neck opening | 9 mm (screw) or 6 mm (crimp) | 9 mm | 6 mm crimp |
| Septum thickness | 1.0 mm | 1.0 mm | 1.0 or 3.0 mm |
| Septum durometer | 40 to 50 Shore A | 40 to 50 Shore A | 50 to 60 Shore A |
| Temperature rating | Up to 100 °C | Up to 100 °C | Up to 150 °C (200 °C with high-temp septum) |
| Puncture count | 80 to 120 | 60 to 100 | 40 to 80 |
| Cap torque (screw) | 0.5 to 0.8 N·m | 0.5 to 0.8 N·m | N/A (crimp) |
Two notes on that table. First, the puncture counts are for a single septum, not a single vial. You can re-cap a vial with a fresh septum if the sample is stable. Second, the torque values are for a hand capper; if you use an automated capper, verify the setting against a torque tester because the mechanical advantage varies. I have seen a lab torque to 1.2 N·m on a screw cap and split the cap skirt, which then jammed the autosampler gripper for a full run.
Crimp vs screw: a decision, not a preference
Crimp vials give you a tighter seal and a more consistent septa compression, which matters for headspace and for low-volume injections. The trade-off is that you need a crimper and a decrimper, and the crimp height has to be right. A crimp that is too loose leaks; too tight and you cut the septum. The standard crimp height is about 5.5 mm from the top of the cap to the top of the vial neck. Screw vials are easier to automate and re-open, but the septa compression depends on how hard you tighten the cap. If you are running more than 200 samples a day, screw caps with a validated capper setting are usually the better operational choice.
This is where the closure supply chain matters. If you are buying vials from one vendor and caps from another, the thread pitch can be off by 0.1 mm and the cap will not seal flush. I source matched vial and cap sets from the same manufacturer whenever possible, or I verify the thread against a go/no-go gauge. The vial closures catalog is a good place to check the thread standard and the septa retention spec before you commit to a lot.
Matching to the inlet: liners, ferrules, and the small parts that fail
GC inlets are where dimensional mismatch gets expensive because the failure modes are subtle. A liner that is 1 mm too short will not seal against the inlet body, and you get a leak that shows up as a 5 to 10% drop in response. A ferrule that is the wrong size will not grip the column and you get a leak at the nut. The ferrule is the cheapest part in the flow path and the one most likely to ruin a run.
Liner dimensions by inlet type
- Split/splitless (Agilent 7890/8890): 4 mm OD, 78.5 mm length, 6.3 mm OD at the top for the seal.
- PTV (programmable temperature vaporizer): 4 mm OD, 78.5 mm length, but the internal geometry differs; do not substitute a split liner.
- Thermo SSL: 4 mm OD, 78.5 mm length, with a different seal geometry at the top.
- Packed column inlets: 6 mm OD, and the length depends on the inlet body; measure before you order.
If you are unsure, the Restek technical resources for chromatography have dimensioned drawings for most inlet types. I keep a printed copy of the liner drawing in the method binder so anyone doing maintenance can check the part before installing it.
Ferrules and the graphite vs. Vespel question
Graphite ferrules seal well but they cold-flow and need re-tightening after the first thermal cycle. Vespel/graphite composite ferrules hold torque better and are my default for most methods. The ferrule size has to match the column OD: 0.4 mm ID column uses a 0.4 mm ferrule, 0.25 mm uses 0.25 mm, and so on. A mismatched ferrule will not seal, and you will chase a leak for an hour. The nut torque for a 1/16-inch fitting is about 0.5 N·m; for a 1/8-inch fitting, about 1.0 N·m. Use a torque wrench, not feel.
Operational precautions that save you a service call
Dimension matching is not just a purchasing decision. It is a maintenance discipline. Here is what I enforce in labs I run:
- Verify tray height after every service visit. A 0.5 mm shift in tray height is enough to change needle penetration. Use a depth gauge, not a visual check.
- Log puncture counts per septum. A simple tally sheet on the autosampler door works. Replace at 80% of the rated count, not at failure.
- Check cap torque weekly. A torque tester costs less than a single service call. Target 0.5 to 0.8 N·m for screw caps.
- Keep a go/no-go gauge for vial OD. A 12.0 mm gauge and a 12.5 mm gauge will catch mislabeled lots before they jam the gripper.
- Match septum durometer to needle speed. Fast autosamplers need a harder septum (50 to 60 Shore A) to avoid coring.
- Use matched vial and cap sets. Mixing vendors is the most common cause of septa that do not seat.
One more: if you are buying OEM-branded vials, verify the actual dimensions against the OEM spec, not the catalog photo. I have seen “OEM-compatible” vials that were 0.3 mm taller than the original, which was enough to cause intermittent needle crashes on a Waters Alliance. The OEM vial pages list the dimensional specs by instrument, and it is worth a five-minute check before you place a bulk order.
Troubleshooting checklist: when the injection goes wrong
When a run fails, work through this list before you blame the column or the method. In my experience, the fix is in the first four items about 70% of the time.
- Is the needle bent or dull? Check under a loupe. A bent needle is a dimensional problem, not a needle problem. Look at tray height and vial OD.
- Is the septum cored? A cored septum shows a visible hole larger than the needle OD. Replace and check needle alignment.
- Is the vial seated flush? A vial that rocks in the tray is either the wrong OD or a warped tray. Measure both.
- Is the cap torque in spec? Under-torqued caps leak; over-torqued caps crack. Check with a torque tester.
- Is the liner the right length? A short liner gives a leak and a response drop. Measure against the drawing.
- Is the ferrule the right size? A mismatched ferrule will not seal. Check the column OD against the ferrule ID.
- Is the septum within its temperature rating? A septum run above its rating will bleed and give ghost peaks.
- Is the puncture count exceeded? Replace at 80% of the rated count, not at failure.
If you work through that list and the problem persists, the issue is probably in the method or the column, not the consumables. But do the dimensional check first, because it is faster and cheaper than a method revalidation.
What to standardize on: a concrete recommendation
If you are setting up a lab from scratch or consolidating suppliers, here is what I would buy, with the numbers:
- LC autosampler vials: 2 mL, 12 x 32 mm, 9 mm screw thread, clear glass, with a 1.0 mm silicone/PTFE septum and a 40 to 50 Shore A durometer. Rated to 100 °C. Puncture count 100. Buy matched vial and cap sets from one vendor.
- GC inlet septa: 11 mm, silicone/PTFE, 50 to 60 Shore A, rated to 150 °C. Puncture count 80 in splitless, 120 in split. Replace at 80% of count.
- Liners: 4 mm OD, 78.5 mm length, deactivated glass wool for split/splitless. Verify the seal geometry against the inlet drawing before ordering.
- Ferrules: Vespel/graphite composite, sized to column OD (0.25, 0.32, or 0.4 mm). Torque to 0.5 N·m for 1/16-inch fittings.
- Torque wrench and go/no-go gauges: one of each on the bench. This is the cheapest insurance you can buy.
If you need a single source for the vial and cap side, the chromatography supplier network carries matched sets and publishes the dimensional specs. I would still verify the first lot against a gauge, but it saves the back-and-forth of mixing vendors.
Takeaway
Autosampler and inlet consumables fail on dimensions far more often than on chemistry. A 12.5 mm vial in a 12 mm tray, a 1.5 mm septum on a 1.0 mm cap, a liner that is 1 mm short, a ferrule that is the wrong ID: these are the failures that cost you a run, a service call, and a revalidation. The fix is not a better material. It is a dimensional check at the bench, a torque wrench, a go/no-go gauge, and a puncture log. Do that and your consumables will do their job, which is to stay out of the way of the chemistry.
References & further reading
Related resources from our lab consumables network:
- Hplc Consumables at hplcconsumable.com
- Chromatography Supplier at chromatographysupplier.com
- Oem Vial at oemsamplevials.com
- Vial Closures at vialclosures.com
External references and standards: