
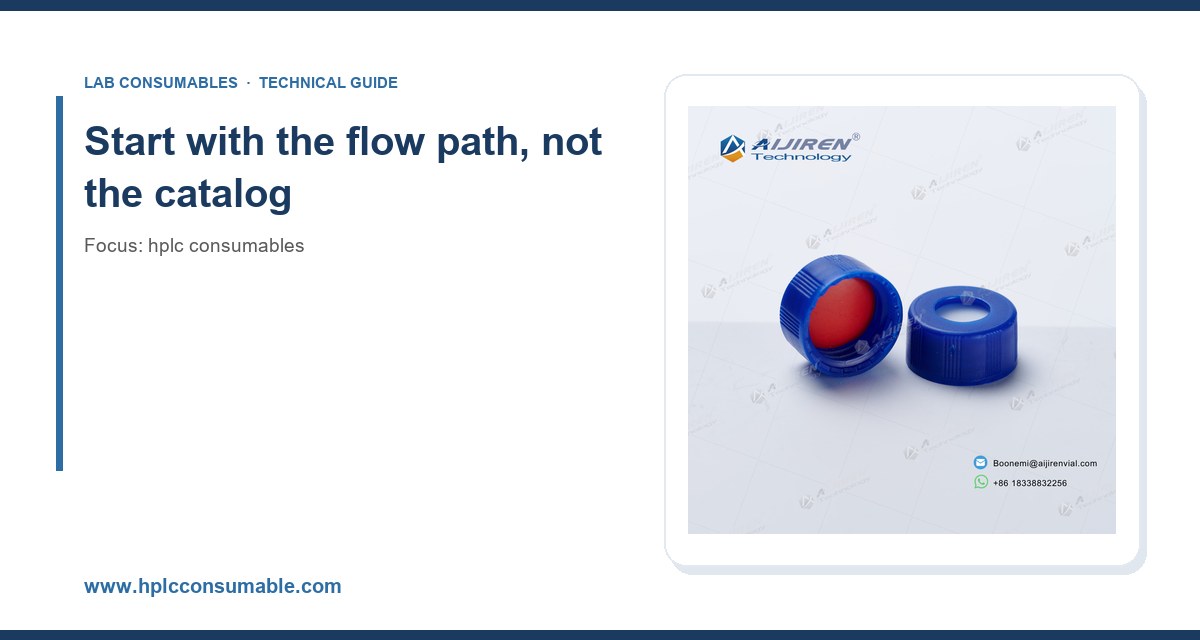
I have watched a lab burn through a quarter’s consumables budget in six weeks because someone bought 300 µL fixed-needle syringes for a method that only needed 100 µL, and because the vial caps they paired with them had 1.0 mm silicone liners that coring-shed into every third injection. The chromatography looked fine. The quantitation did not. That is the thing about consumables: they almost never fail loudly. They fail as drifting peak areas, ghost peaks at 3.2 minutes, and a calibration curve that will not hold 2% RSD no matter how many times you re-run it. This guide is what I wish someone had handed me the first time I was told to “sort out the consumables order.”
Everything below assumes you already have a validated method and a working instrument. The job here is to pick the parts that touch your sample, keep them consistent batch to batch, and know when a cheaper option is fine and when it will cost you three days of investigation.
Consumables are not a shopping list. They are a chain of wetted surfaces, each with its own failure mode. Before you open any supplier portal, draw the sample path from autosampler to detector and label every replaceable part. For a typical reversed-phase HPLC setup that is: vial, septum, cap, needle, injection loop, needle seat, rotor seal, column frit, column packing, guard cartridge, detector flow cell. Nine or ten parts, and any one of them can wreck a run.
I sort those parts into three tiers because they deserve different buying discipline.
- Tier 1, sample contact and containment: vials, caps, septa, syringe filters, autosampler needles. Cheap per unit, high leverage. A bad septum ruins 96 injections at once.
- Tier 2, fluidic wear parts: rotor seals, needle seats, check valves, tubing, ferrules, guard cartridges. Predictable lifetimes, so buy on schedule, not on panic.
- Tier 3, the column and its protection: analytical column, guard column, in-line filter. The most expensive single item and the one most often killed by a Tier 1 failure upstream.
Most of the money you waste sits at the boundary between Tier 1 and Tier 3. A $0.40 septum destroys a $600 column. That asymmetry is the whole argument for buying consumables deliberately rather than by unit price.
Vials and closures: where most problems actually start
Glass grade and dimensional tolerance
Not all 2 mL vials are the same vial. The de facto reference is the 12 x 32 mm crimp or screw-thread vial, and the screw version follows the GPI 8-425 thread standard for 8 mm neck finishes (the 9 mm wide-mouth format uses GPI 9-425). If your autosampler tray is set up for 12 x 32 mm and you buy a vial that runs 0.3 mm tall, the needle may not reach the liquid at low fill volumes, or the gripper may drop it. I have seen a 0.5 mm height variance cause intermittent “no sample” errors on a tray of 120 vials, and it took two days to trace.
Glass grade matters more than people admit. Type I borosilicate is the default for HPLC because it resists leaching of sodium and other alkali ions that show up as baseline noise in ion-exchange and some MS work. For trace metals analysis, specify vials that have been tested to low extractables and ask for the certificate. For pH above 8 or below 3, do not store samples in soda-lime glass overnight; the surface starts to hydrolyze and you will pick up silica and sodium.
If you are buying in volume and want a consistent supply, an OEM vial program with a fixed dimensional spec and a locked glass lot is the practical answer. You get the same 12 x 32 mm body every quarter instead of a new mold every shipment.
Septum selection: the single most consequential choice
The septum is where I see the most expensive mistakes. Three material families cover almost everything:
- Silicone: soft, reseals well, but it cores. A 1.0 mm silicone septum on a 22-gauge needle will shed a plug of material after roughly 30 to 50 punctures. That plug lands in the vial or the needle. Use silicone only where you inject each vial once or twice.
- PTFE-faced silicone: the PTFE film faces the sample and stops the silicone from contacting it. Good general-purpose choice for HPLC, but the PTFE face can be pierced repeatedly only if the needle is sharp and the septum is pre-slit. Expect 50 to 100 punctures before coring becomes a real risk.
- PTFE/silicone laminated with a slit: pre-slit septa reduce coring dramatically because the needle passes through an existing channel. This is what I specify for autosamplers that pierce the same vial for standards and multiple injections. The trade-off is a slightly higher evaporation rate on long runs.
Two numbers to hold onto. First, septum thickness: 1.0 mm is standard, 0.9 to 1.3 mm is the working range for most 11 mm crimp caps. Second, the cap crimping torque. For 11 mm aluminum crimp caps, a crimper set to the manufacturer’s spec (typically a crimp height of about 5.5 mm at the skirt) gives a seal that holds headspace pressure without cracking the neck. Over-crimp and you get a hairline fracture; under-crimp and the vial leaks during a 40 °C autosampler run. I keep a crimp gauge on the bench and check it every 200 caps. It is a five-dollar part that saves a lot of grief.
For screw caps, hand-tightening to a consistent feel is not good enough across a team of six analysts. A torque-limiting driver set to about 0.6 to 0.8 N·m for 9 mm screw caps keeps the seal consistent and stops people from stripping the thread. The cap and septum are a system, so buy them as one part number from a supplier who controls both, which is the argument for sourcing vial closures from a single vendor rather than mixing caps from one catalog and septa from another.
Fill volume and the needle-depth trap
Autosampler needles have a fixed depth. If you fill a 2 mL vial with 100 µL of sample, the needle may sit in the headspace and aspirate air. The practical minimum for most fixed-needle autosamplers is 150 to 250 µL in a standard 12 x 32 mm vial, and more if the needle depth is not adjustable. Use a 300 µL insert or a conical-bottom vial for small volumes. I have seen a method fail RSD acceptance purely because the analyst filled to 120 µL and half the injections pulled a bubble.
Syringes, needles, and filters
Syringe selection by volume and needle gauge
Match the syringe to the injection volume, not to what is on the shelf. A 100 µL syringe gives you better accuracy for a 10 µL injection than a 500 µL syringe does, because the relative error scales with the barrel. For manual injection, a 100 µL syringe with a 22-gauge, 51 mm fixed needle is a workhorse. For autosamplers, use the needle the instrument was designed around; substituting a longer needle changes the seat geometry and can bend the needle on the seat.
Needle gauge is a real trade-off. A 22-gauge needle (about 0.72 mm OD) is robust and pierces septa cleanly. A 26-gauge (about 0.46 mm OD) is gentler on small-volume vials but bends easily and cores septa faster because the tip is finer. If you inject from a 96-well plate, the plate seal is thinner and a 26-gauge is fine. If you inject from crimp vials, stay at 22-gauge.
Syringe filters: membrane, pore size, and hold-up volume
Filter before you inject, always. The membrane choice depends on the mobile phase and the sample:
- PTFE: chemically inert, good for aggressive solvents and most organic mobile phases. Use for samples in acetonitrile or methanol.
- Nylon: good for aqueous samples, but it adsorbs some proteins and can leach. Avoid for trace amine analysis.
- PVDF: low protein binding, good for biological samples and aqueous buffers.
- Cellulose acetate: cheap, fine for general aqueous filtration, not for strong organics.
Pore size: 0.45 µm for general HPLC, 0.22 µm when you are protecting a column with a 2 µm frit or running UHPLC at high pressure. Hold-up volume matters more than people think. A 13 mm filter holds up to about 10 to 20 µL dead volume; a 33 mm filter can hold 100 µL or more. If your sample is 200 µL, a 33 mm filter will eat half of it. Use 13 mm for small volumes and 25 or 33 mm only when you have plenty of sample.
Columns, guard cartridges, and the pressure budget
Particle size and pressure
Column selection is its own topic, but for consumables buying the decision is about particle size and the pressure it generates. A 5 µm column at 1.0 mL/min on a 4.6 mm ID column runs at maybe 80 to 120 bar. A 1.8 µm column at the same flow on a 2.1 mm ID runs at 400 to 600 bar. That pressure budget determines whether your pump, seals, and fittings are up to the job. Buy the column and the wear parts together. A UHPLC column on a system with old seals is a recipe for a leaking rotor seal at the worst moment.
Guard cartridges are the cheapest insurance you can buy. A guard at 2 to 5 µm particle size, replaced every 100 to 200 injections, will extend analytical column life by a factor of two or three in dirty matrices. The math is simple: a guard costs a fraction of a column, and swapping it takes two minutes. I have never understood labs that skip guards to save money and then replace a $600 column every month.
Frits and in-line filters
Column inlet frits are typically 0.5 to 2 µm porosity. If you run samples with particulates, an in-line filter ahead of the guard catches what the guard would otherwise plug. Replace the in-line filter on a schedule, not on failure. I set a rule: every 500 injections, or whenever system pressure rises more than 10% above baseline, whichever comes first.
A concrete comparison: three buying profiles
Here is how I would spec three common workflows. Use this as a starting checklist and adjust to your method.
| Parameter | Routine QC (aqueous, 5 µm column) | Method development (mixed matrices) | Trace/LC-MS (low volume, high sensitivity) |
|---|---|---|---|
| Vial | 12 x 32 mm, Type I glass, 1.5 mL fill | 12 x 32 mm screw, GPI 9-425, 300 µL insert | 12 x 32 mm, low-extractable, 150 µL conical insert |
| Septum | PTFE/silicone, 1.0 mm | Pre-slit PTFE/silicone, 1.0 mm | Pre-slit PTFE/silicone, 0.9 mm, low-bleed grade |
| Cap | 11 mm crimp, crimp height 5.5 mm | 9 mm screw, torque 0.6 N·m | 9 mm screw, torque 0.6 N·m |
| Syringe | 100 µL, 22-gauge fixed needle | 100 µL, 22-gauge | 50 µL, 26-gauge |
| Filter | 13 mm, 0.45 µm PVDF | 13 mm, 0.22 µm PTFE | 13 mm, 0.22 µm PVDF, low hold-up |
| Guard | 2 µm, replace every 200 injections | 5 µm, replace every 100 injections | In-line filter, replace every 500 injections |
| Pressure ceiling | 150 bar | 400 bar | 600 bar |
That table is not gospel, but it forces the right questions. If your routine QC method is running at 300 bar, something upstream is wrong, and buying a fancier column will not fix it.
Supplier and quality questions that actually matter
Every catalog claims “HPLC grade” and “low extractables.” Ask for the data behind it. The questions I ask before adding a supplier to the approved list:
- Do you provide a certificate of analysis per lot, with the test method stated?
- What is the dimensional tolerance on the vial body and neck? (Ask for a number in millimeters, not “tight.”)
- For septa, what is the specified puncture count before coring, and how was it tested?
- Can you lock a glass lot for a year so my method does not drift?
- What is the lead time on a repeat order, and do you hold safety stock?
A supplier who cannot answer the first two is a distributor, not a manufacturer, and you are buying whatever the factory shipped that month. For a broader catalog view across vendors, the HPLC consumables range gives you a sense of what is standard versus what is specialty, and a good chromatography supplier will consolidate the Tier 1 and Tier 2 parts so you are not managing ten purchase orders.
For method-specific guidance, the instrument vendors publish useful compatibility tables. Agilent’s chromatography consumables and columns documentation covers septum and liner compatibility in detail, and Thermo Fisher’s chromatography and sample handling pages list vial and cap specs by autosampler model. Restek’s technical resources are worth reading for their troubleshooting guides on septa and inlet problems. If you run environmental work, the U.S. EPA SW-846 test methods specify sample container and preservation requirements that override any generic buying advice.
Operational precautions on the bench
Good consumables fail in bad hands. A few habits that pay for themselves:
- Store septa away from heat and light. Silicone picks up volatile organics from the air. A box left open near a solvent cabinet will show ghost peaks. Keep them sealed until use.
- Never re-crimp a vial. The aluminum work-hardens and the second crimp leaks. One crimp, one use.
- Check the needle seat alignment after every needle change. A bent needle is usually a seat problem, not a needle problem.
- Flush new tubing and ferrules before connecting the column. Manufacturing residue shows up as a baseline ramp in the first 20 minutes.
- Log every consumable lot number against the run. When a ghost peak appears, the first question is “what changed,” and the lot log answers it in seconds.
Troubleshooting checklist
When the chromatography goes wrong and you suspect consumables, work through this in order. It is roughly the order of likelihood in my experience.
- Ghost peaks at a consistent retention time: septum coring or contaminated vial. Replace septa with pre-slit, check for visible plugs in the vial, run a blank with a fresh vial.
- Drifting peak area, RSD above 2%: partial needle blockage or a leaking cap. Inspect the needle under magnification, check crimp height, replace the septum.
- Rising system pressure: plugged frit, guard, or in-line filter. Swap the in-line filter first, then the guard, then check the column frit.
- Baseline noise or a slow ramp: leachables from a new vial lot or residual manufacturing oils in new tubing. Flush and re-run a blank.
- Intermittent “no sample” errors: vial height variance or low fill volume. Measure a sample of vials with calipers, raise fill volume above 200 µL.
- Leak at the column inlet: over-torqued or reused ferrule. Replace the ferrule, hand-tighten plus a quarter turn.
- Loss of sensitivity in LC-MS: high-bleed septum or filter membrane. Switch to low-bleed septum grade and a low-extractable filter.
What I would actually buy
If you are setting up a general-purpose HPLC lab from scratch and want a defensible starting kit, here is my recommendation with the numbers attached:
- Vials: 12 x 32 mm Type I borosilicate, 1.5 mL, screw thread GPI 9-425, 100 per pack. Buy 1,000 at a time to lock a lot.
- Caps and septa: 9 mm screw caps with pre-slit PTFE/silicone septa, 1.0 mm thick, torque to 0.6 N·m with a limiting driver.
- Syringes: 100 µL, 22-gauge, 51 mm fixed needle for manual work; instrument-specific needles for autosamplers.
- Filters: 13 mm, 0.22 µm PVDF for aqueous, 13 mm 0.45 µm PTFE for organic. Keep both on the shelf.
- Guards: 2 to 5 µm guard cartridges matched to your column, replaced every 100 to 200 injections.
- Wear parts: rotor seal, needle seat, and check valves on a scheduled replacement every 1,000 to 2,000 injections, not on failure.
That kit costs more per unit than the bargain bin, and it will cost less per year. The reason is simple: the expensive failures in chromatography are almost never the consumable itself. They are the re-run, the investigation, and the column that died because a 40-cent septum cored.
The buying discipline is the same at any scale. Map the flow path, tier the parts by leverage, demand lot-level data from the supplier, and replace wear items on a schedule. Do that and the consumables stop being a source of mystery and become what they should be: a controlled, boring, predictable part of the method.
References & further reading
Related resources from our lab consumables network:
- Hplc Consumables at hplcconsumable.com
- Chromatography Supplier at chromatographysupplier.com
- Oem Vial at oemsamplevials.com
- Vial Closures at vialclosures.com
External references and standards: