
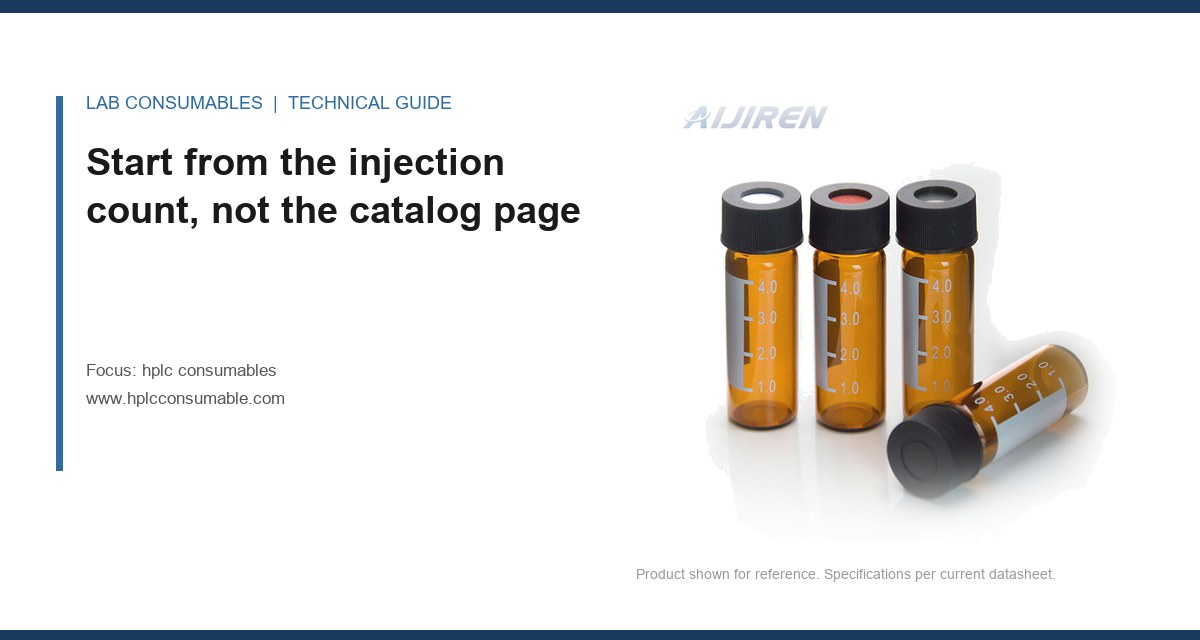
A 96-position autosampler tray that ran 1,850 injections in a week on the same 2 mL vials came back with three septum cores punched clean through and sitting in the bottom of the sample cup. The analyst saw the symptom first as a drifting peak area on the last 40 injections of each sequence, roughly 2.4% RSD against a method limit of 1.5%. The cause was not the column. It was that nobody had done the arithmetic on hplc consumables capacity and puncture life for a given injection count before the sequence started. This guide is about that arithmetic: how much volume actually goes into a vial, how much of it the needle can reach, how many times a septum will take a puncture before it leaks or cores, and how to size the whole consumable set from the injection count you know you will run.
Every sizing decision downstream depends on two numbers you already have: total injections per sample and total injections per sequence. Write them down before you open a catalog. A method validation package at 6 injections per level, 5 levels, triplicate, plus a system suitability set, is not 6 injections. It is closer to 100 per sample set. Multiply by the number of samples and you have the real load on the septum, the needle, and the vial.
I size consumables against three loads, in this order:
- Puncture load per septum: total needle entries into one closure, including standards, blanks, and re-injections.
- Volume load per vial: total microliters drawn, including the flush and the dead volume the needle cannot reach.
- Sequence load per tray: how many vials sit in the autosampler for how many hours at what temperature.
The mistake I see most often is sizing only for the analytical injection and forgetting the wash. A needle that draws 10 µL and washes with 100 µL per injection pulls 110 µL out of the loop path on every cycle, and if your wash station returns to the sample vial (some do, on older autosamplers), that volume comes out of the sample. Check the wash destination before you assume it does not.
Fill volume is a working range, not a single number
A 2 mL autosampler vial is not a 2 mL container. The usable fill volume for a standard 12 x 32 mm vial with a 6 mm opening sits between 0.3 mL and 1.5 mL. Below 0.3 mL the needle cannot reliably reach the liquid at the bottom of the draw stroke without hitting the base or pulling air, and above 1.5 mL you risk the liquid contacting the septum and wicking up the needle, which is a classic source of carryover and false peaks.
The working range depends on the needle depth setting and the vial geometry. A 12 x 32 mm vial has roughly 32 mm of internal height and a conical or flat base depending on the part. With a needle that stops 2 mm above the base, the residual dead volume is typically 50 to 150 µL on a flat base and 15 to 40 µL on a conical base. That dead volume is not recoverable. If you fill 0.5 mL into a flat-base vial and the method needs 12 injections at 20 µL plus 100 µL wash per injection, you are drawing 1.44 mL of demand against 0.35 to 0.45 mL of accessible volume. The run will fail on the 8th or 9th injection with a short-sample error or, worse, an air bubble that produces a 30% low area and gets flagged as an outlier.
The fill volume calculation
Accessible volume equals fill volume minus dead volume. Demand equals injections times (draw volume plus wash volume, if the wash returns to the vial). Size so that accessible volume is at least 1.3 times demand. That 30% margin covers evaporation over a long sequence and the meniscus drop as the vial empties.
| Vial format | Nominal volume | Usable fill range | Typical dead volume (flat base) | Typical dead volume (conical base) |
|---|---|---|---|---|
| 12 x 32 mm, 6 mm opening | 2 mL | 0.3 to 1.5 mL | 80 to 150 µL | 15 to 40 µL |
| 12 x 32 mm, 9 mm opening | 2 mL | 0.3 to 1.5 mL | 80 to 150 µL | 15 to 40 µL |
| Short 10 x 32 mm | 1.2 mL | 0.2 to 0.8 mL | 60 to 100 µL | 10 to 25 µL |
| Wide-mouth 15 x 45 mm | 4 mL | 0.5 to 3.0 mL | 150 to 300 µL | 40 to 80 µL |
If your method calls for 50 µL draws on a flat-base vial with 200 µL fill, you have 50 to 120 µL of accessible volume against a 50 µL draw. One injection, maybe two, before the needle is in air. Switch to a conical insert or increase the fill. The HPLC consumables range on our site lists the dead volume for each insert style, and it is worth reading before you order a case.
Dead volume is where the sequence quietly dies
Dead volume is the volume between the needle tip’s lowest reachable point and the bottom of the vial cavity. It is not a manufacturer’s defect. It is a dimensional consequence of the vial base shape and the needle depth setting in the autosampler method. Two vials with the same nominal 2 mL capacity can differ by 100 µL in dead volume depending on whether the base is flat or conical.
I measure it once per vial lot. Fill a vial with water, weigh it, run the autosampler to its lowest needle position, draw until the needle pulls air, and weigh again. The difference in grams equals the dead volume in milliliters to within 1%. Do this for three vials per lot and you have a working number. If the lot drifts more than 20 µL from the previous lot, the molding has changed and the fill volume you set in the method is now wrong.
Dead volume also changes with the needle gauge. A 22-gauge needle (0.72 mm OD) reaches lower into a conical base than a 26-gauge needle (0.46 mm OD) because the larger needle cannot enter the cone’s tip without bending. This is the first place where needle gauge and fill volume interact, and it is why you cannot size the vial without knowing the needle.
Needle gauge sets the puncture arithmetic
A septum is not a self-healing membrane. It is a sheet of elastomer or silicone laminate that is punched, not pierced, every time the needle enters. The puncture leaves a slit. The slit closes by elastic recovery, and the recovery depends on the septum material, the needle gauge, the bevel, and the number of prior punctures in the same spot.
Here is the arithmetic I use. A standard silicone/PTFE septum in a 11 mm crimp or 9 mm snap cap is rated by most manufacturers for 50 to 100 punctures at the same position before leakage risk becomes real. A PTFE-faced silicone septum, which is what most HPLC methods specify to avoid extractables, is on the lower end of that range because the PTFE face does not reseal as well as bare silicone. A pre-slit septum trades reseal performance for puncture count and is not appropriate for long sequences on volatile solvents.
The needle gauge changes the count. A 22-gauge needle at 0.72 mm OD removes more material per puncture than a 26-gauge at 0.46 mm OD. In side-by-side testing on the same septum lot, the 26-gauge needle reached roughly 1.4 times the puncture count before a leak was detected by dye penetration. That is not a reason to switch to a finer needle if your method needs the flow rate of a 22-gauge, but it is a reason to count punctures per position, not per vial.
Puncture count per position, not per septum
Most autosamplers do not return the needle to the exact same point on every injection. They index around the septum center by a few tenths of a millimeter, which spreads the punctures over an annulus and extends the practical life. If your autosampler indexes, divide the total injections by the number of distinct positions to get punctures per position. If it does not index, the full count lands on one spot and the septum fails earlier.
The formula I use for a septum change interval:
Injections per septum = rated punctures × positions × 0.6
The 0.6 is a safety factor. If a septum is rated at 75 punctures, indexes over 4 positions, and the method runs 100 injections per sample, you change the septum every 75 × 4 × 0.6 = 180 injections, which is roughly every second sample. That is a lot of cap changes, and it is why pre-slit or higher-puncture-count septa exist. The vial closures section on our sister site lists puncture ratings per closure style, and it is the number to check before you commit to a cap.
Matching the needle to the vial opening, not just the septum
A 9 mm opening takes a 22-gauge needle comfortably. A 6 mm opening is tighter, and a 22-gauge needle at 0.72 mm OD plus the bevel geometry needs about 1.2 mm of clearance to enter without scraping the neck. If the needle scrapes, you get metal particles in the sample and a slow drift in the baseline from the dissolved metal. I have seen this show up as an iron peak at 254 nm that nobody could explain until we looked at the vial neck under a loupe.
The rule: match the needle OD to the opening with at least 1.5 mm of radial clearance. For a 6 mm opening, that means a needle no larger than 22 gauge and preferably 23 gauge or finer. For a 9 mm opening, 22 gauge is fine. For a wide-mouth 15 mm opening, anything up to 18 gauge works. The OEM vial specifications on our site give the opening ID for each format, and it is worth checking against your autosampler’s needle before you order.
Temperature and time change the fill volume you set
A vial sitting in a tray at 4 °C for 18 hours loses less to evaporation than one at 25 °C, but it gains condensation on the septum and the walls. A vial at 25 °C in a tray with a loose cap loses measurable volume to evaporation, and the loss is worst on volatile solvents like methanol, acetonitrile, and dichloromethane. At 25 °C with a standard crimp cap, I have measured 0.8 to 1.5% volume loss over 12 hours on a 1 mL fill of methanol. On a 0.5 mL fill, that is 4 to 7.5 µL, which matters when the draw is 10 µL.
The fix is not a different septum. It is a shorter sequence, a cooled tray, or a larger fill volume with a correspondingly larger dead volume allowance. If you cannot shorten the sequence, size the fill so that the 1.5% loss is inside the 30% margin you already built in. For a 0.5 mL fill, that means a demand no greater than 0.3 mL, which is 15 injections at 20 µL. Beyond that, you need a cooled tray or a sealed vial format.
Two field cases where the arithmetic caught the problem
Case 1: the 1,850-injection week
The symptom was a 2.4% RSD on the last 40 injections of a sequence that had been running at 0.8% for the first 200. The method used 2 mL vials with 9 mm snap caps, a 22-gauge needle, and 6 injections per sample across 300 samples. Total injections were 1,800 plus standards. Fill volume was 1.0 mL per vial, and each sample had its own vial.
The measurement that identified it: we pulled the last 10 vials of the sequence and weighed them against a freshly filled control. The last vials were 12 to 18 mg lighter than the controls, which is 12 to 18 µL of methanol lost to evaporation through the puncture slits. The septum had taken 6 punctures each, well inside the 75-puncture rating, but the slits had not resealed because the snap cap had been seated with a hand crimper that was not calibrated. The torque was inconsistent, and the loose caps leaked vapor.
The fix was a calibrated crimper set to 1.2 N·m for the 9 mm snap caps, verified every 50 caps with a torque tester, plus a switch to a PTFE/silicone septum with a thicker silicone layer. The RSD dropped to 0.6% and stayed there for the next 2,000 injections. The lesson: puncture count was not the failure. Cap seating torque was, and it only showed up because we weighed the vials.
Case 2: the short-sample error on injection 9
The symptom was a short-sample error on the 9th injection of a 12-injection sequence, every time, on the same sample position. The method used a 2 mL flat-base vial, a 26-gauge needle, 20 µL draws, and a 50 µL wash that returned to the vial. Fill volume was 0.4 mL.
The measurement: we calculated demand as 12 × (20 + 50) = 840 µL against an accessible volume of 0.4 mL minus 120 µL dead volume = 280 µL. The arithmetic said the vial would run dry at injection 4, not 9. The discrepancy was that the wash did not return to the vial on this autosampler model; it went to waste. That made demand 12 × 20 = 240 µL against 280 µL accessible, which is a 17% margin, under the 30% I recommend. The 9th injection was the point where the meniscus dropped below the needle’s lowest reach.
The fix was a conical-base insert, which cut dead volume to 30 µL and raised accessible volume to 370 µL, giving a 54% margin. The sequence ran clean. The lesson: verify the wash destination before you calculate demand, and always use a conical base when the fill is under 0.5 mL.
A sizing checklist you can run in ten minutes
Before you place a consumables order for a method, run these checks in order. Each one has a number attached, and each one has a failure mode if you skip it.
- Count injections per sample, including standards, blanks, and re-injections. Multiply by samples for the sequence total.
- Confirm wash destination: does the wash return to the sample vial or go to waste? This changes demand by 2 to 5 times.
- Calculate demand: injections × (draw + wash if returning).
- Measure dead volume for the vial lot: weigh-fill-weigh, three vials per lot.
- Set fill volume so accessible volume is at least 1.3 × demand.
- Match needle OD to opening: at least 1.5 mm radial clearance.
- Calculate septum change interval: rated punctures × positions × 0.6.
- Check cap torque with a calibrated crimper or snap tool, verified every 50 caps.
- Estimate evaporation loss at the tray temperature over the sequence duration, and confirm it is inside the 30% margin.
For reference on method requirements that affect these numbers, the U.S. EPA SW-846 test methods set container and preservation requirements that constrain fill volume and headspace, and the Restek technical resources publish puncture and dead-volume data for common vial formats that you can use as a cross-check against your own measurements.
What to order, and in what ratio
The ratio of vials to caps to septa to inserts is not 1:1:1:1. It depends on the puncture interval and the fill volume. For a method running 100 injections per sample on a 2 mL vial with a 75-puncture septum indexing over 4 positions, you change the cap every 180 injections, which is roughly every second sample. That means caps and septa outnumber vials by about 2:1. If you use conical inserts, they are single-use and match the vial count.
I order in these ratios for a typical 500-injection method:
| Component | Ratio to vials | Reason |
|---|---|---|
| Vials | 1.0 | One per sample |
| Caps with septa | 1.5 to 2.5 | Puncture interval forces mid-sequence changes |
| Conical inserts | 1.0 | Single-use, one per vial |
| Needles | 0.02 to 0.05 | Replace every 20 to 50 sequences or on baseline drift |
The needle ratio is the one most labs get wrong. A needle is good for roughly 2,000 to 5,000 injections before the bevel dulls and the puncture quality degrades. At 500 injections per method and 20 methods per year, that is 10,000 injections, so you need 2 to 5 needles per year per instrument. Order them with the vial case, not as an emergency purchase.
If you are sourcing across multiple formats, the chromatography supplier network lists cross-references between vial formats and autosampler models, which saves the dimensional check. For instrument-specific needle and vial compatibility, the Agilent chromatography consumables and columns pages and the Thermo Fisher chromatography and sample handling pages both publish the needle gauge and vial opening specs per autosampler model, and those are the numbers to plug into the arithmetic above.
Troubleshooting when the arithmetic says it should work but it does not
If the fill volume, dead volume, and puncture count all check out and the sequence still fails, work through these in order. Each one has a specific measurement.
- Area drift on late injections: weigh the last vials against controls. More than 10 mg loss means evaporation through the septum or a loose cap. Check torque first.
- Short-sample error before the calculated injection: measure the actual dead volume of the lot. A 50 µL shift in dead volume changes the failure point by 2 to 3 injections.
- Ghost peaks at a fixed retention time: the septum is the first suspect, but check the cap liner material before you blame the septum. A silicone liner on a volatile solvent can extract at 40 °C.
- Needle bending or scraping: measure the radial clearance. Under 1.5 mm means the needle is hitting the neck, and the fix is a smaller gauge or a wider opening.
- Carryover above 0.1%: check the wash volume and the wash destination. A wash that returns to the vial dilutes the sample and concentrates the carryover in the next draw.
The decision rule I use, and the one I would put on the wall above the autosampler: size the fill volume so accessible volume is at least 1.3 times demand, size the septum change interval at 60% of the rated puncture count times the number of indexed positions, and verify cap torque with a calibrated tool every 50 caps. Those three numbers, applied to the injection count you already know, prevent almost every capacity and puncture failure I have seen in 15 years of running these trays. Everything else is a refinement.
References & further reading
Related resources from our lab consumables network:
- Hplc Consumables at hplcconsumable.com
- Chromatography Supplier at chromatographysupplier.com
- Oem Vial at oemsamplevials.com
- Vial Closures at vialclosures.com
External references and standards: